Long exposure photography presents interesting challenges, all of which require practice and patience to overcome. Each aspect often requires careful consideration and several attempts to achieve the desired result.
Our introduction to long exposure photography will offer a basic understanding of the topic. Building on the previous guide, this article will delve deeper into common problems and challenges encountered while capturing long exposures in daylight.
Unless otherwise stated, images in this article have been cropped, with minimal adjustments applied (brightness and contrast only, no localized adjustments, color correction or object removal).
Table of contents
One important aspect for long exposures is filter quality. Cheap filters are often made of plastic, which can introduce color casts and reduce image quality. In contrast, high-quality filters from reputable manufacturers may cost more but are made of optical-grade glass and do not affect color accuracy.
There are two main types of filters: screw-in filters and rectangular filters. Rectangular filters, which are attached to a filter holder, offer the advantage of allowing adjustments to the position of graduated neutral density filters. Recently, magnetic filters have been launched as an alternative to screw-in filters and holders, but these tend to trade convenience for durability, as magnets lose strength over time.
Long exposure too bright or too dark
Choosing the correct exposure time for an image is determined by time of day, subject, and technical settings. An exposure time that is too short may fail to distinguish elements and capture smooth motion, while an exposure time that is too long risks overexposing the image. Additionally, ISO choice is crucial and should be kept to a minimum, as longer exposure times can introduce significantly more noise than typical images.
The following five images illustrate how exposure time affects the overall look on an overcast day. Only the shutter speed has been adjusted, and the images have not been modified through post-processing.
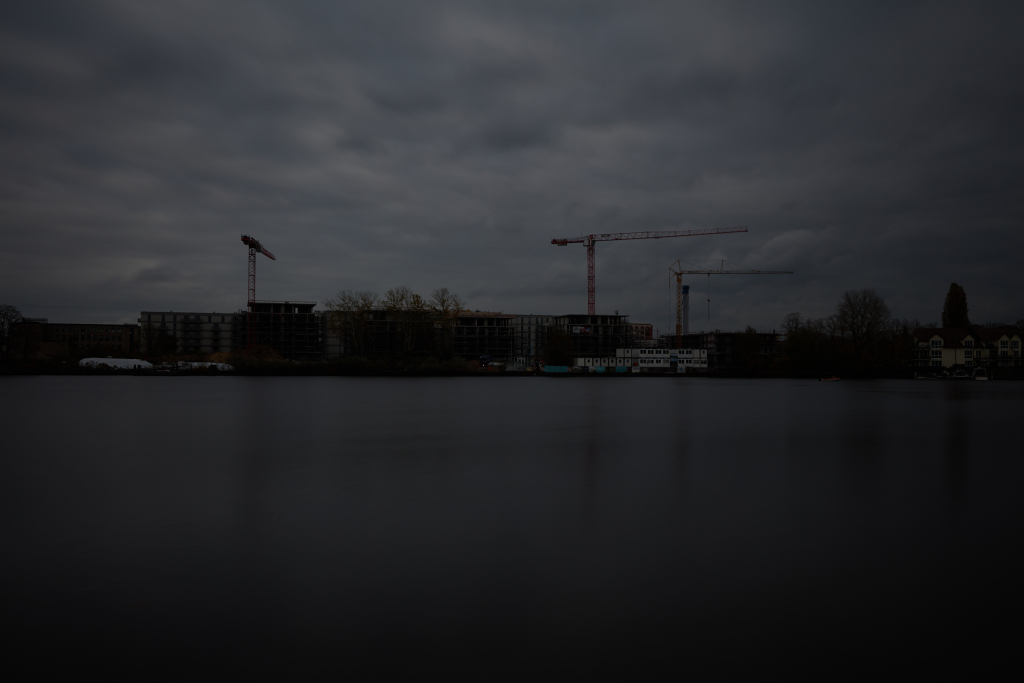
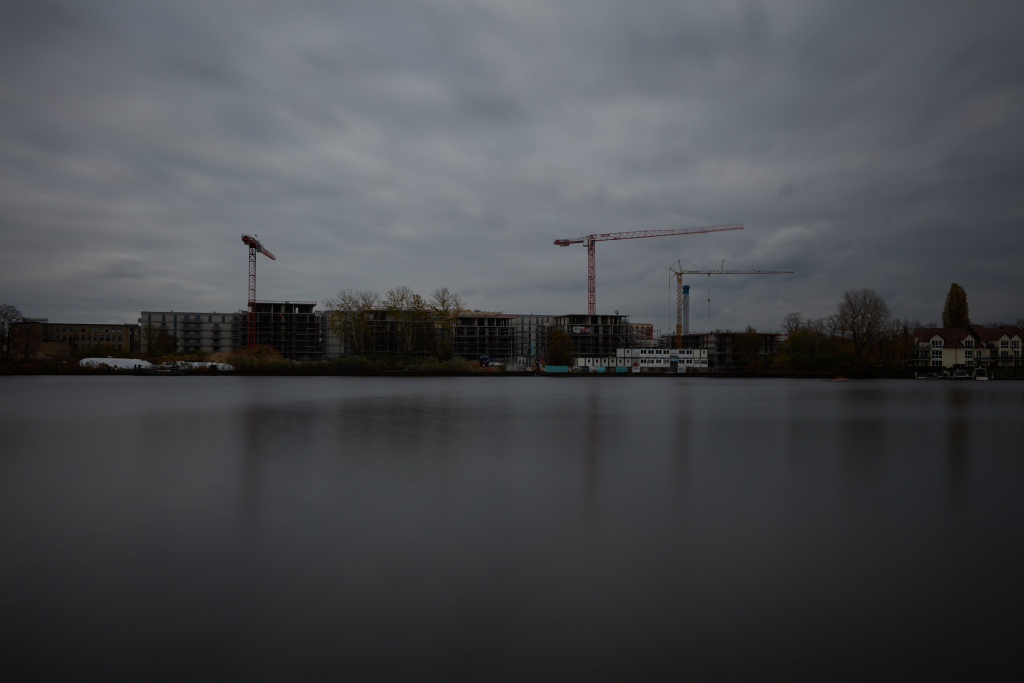
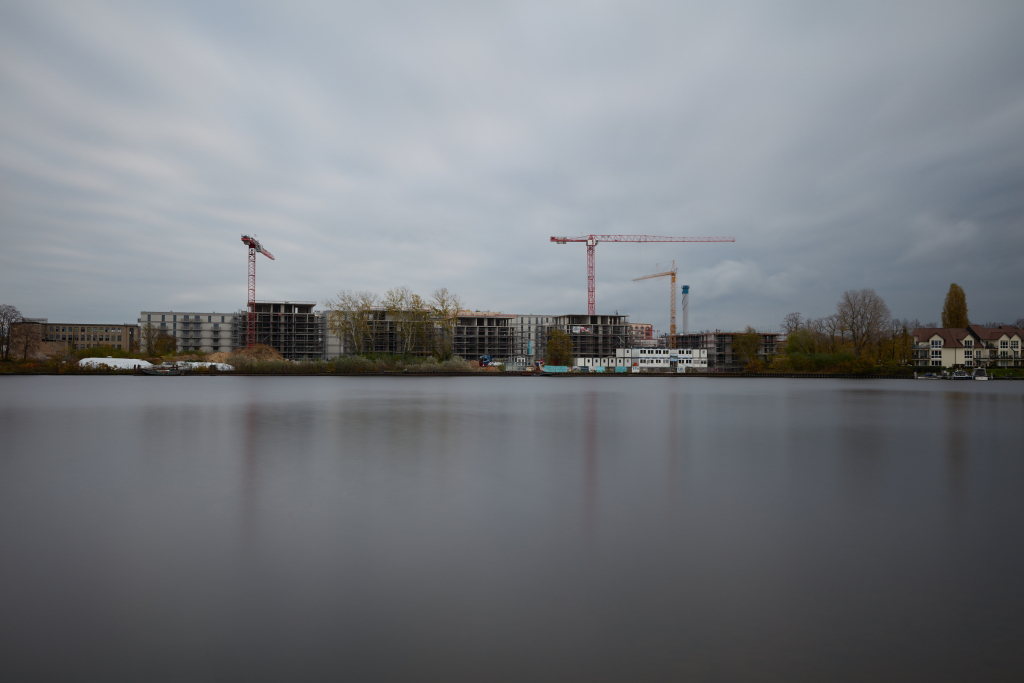
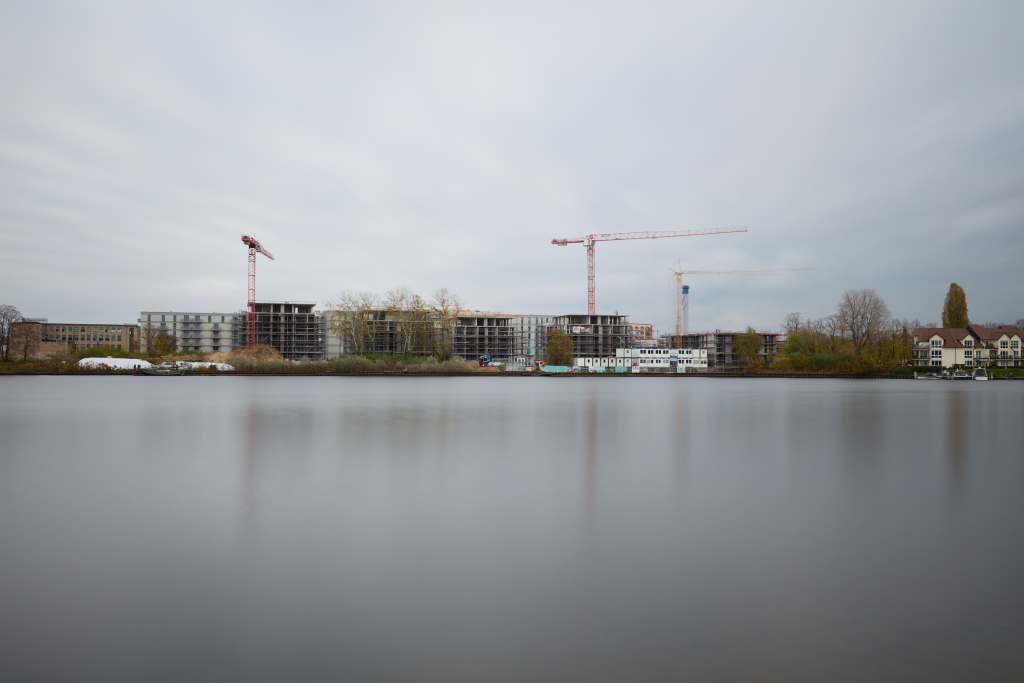
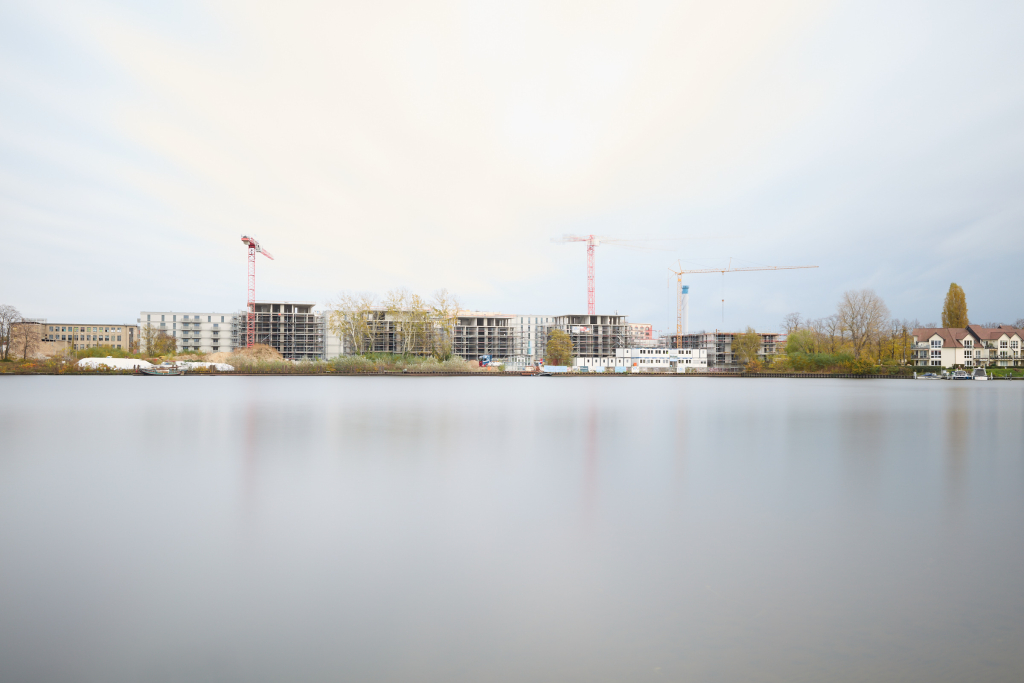
Reciprocity in photography describes the inverse relationship between light duration and light intensity reaching a sensor. Half as much light for twice as long results in the same exposure. This is why doubling the exposure time while closing the aperture by one stop will produce the same exposure value. In film photography, for very short (under 1/10,000 second) or long (over one second) exposures, an effect called reciprocity failure (Schwarzschild effect) occurs.
Simply explained, reciprocity failure describes how film becomes less sensitive to light as the light intensity decreases, which occurs during very short or long exposures. When the film emulsion does not have enough time to be properly exposed to low light, it results in underexposed frames and potential color shifts. Each film stock has different reciprocity characteristics. To calculate the final exposure time, it is recommended to consult the film data sheet to find the factor by which the measured time needs to be adjusted for a proper result. This factor is expressed as either stop values or so-called p-values. The exposure time or aperture must be adjusted according to the corresponding stop value, while for p-values, the formula xp (where x is the measured time) should be used to calculate the adjusted exposure time. For films where these values are unknown, a p-value of 1.33 can be assumed. Film data sheets also indicate if a filter is needed to compensate for color shift during long exposures and recommend a maximum exposure time.
Reciprocity failure is only a concern with film. If long exposure images taken with digital cameras appear darker, it is most likely due to slight variations in the ND value of the filter. Many stronger filters have a margin of error regarding how much light they allow to pass, so accounting for this error when calculating exposure time is essential for achieving a properly exposed image.
Details and stability
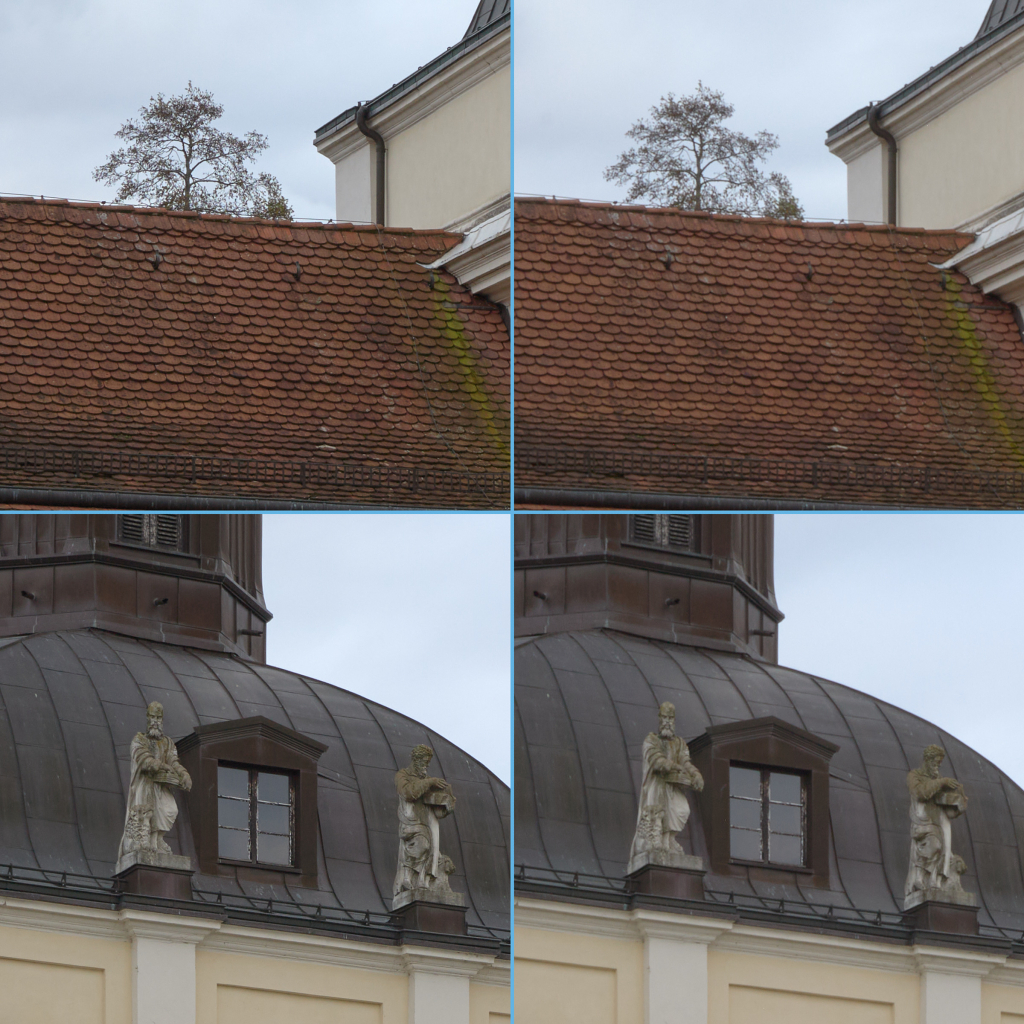
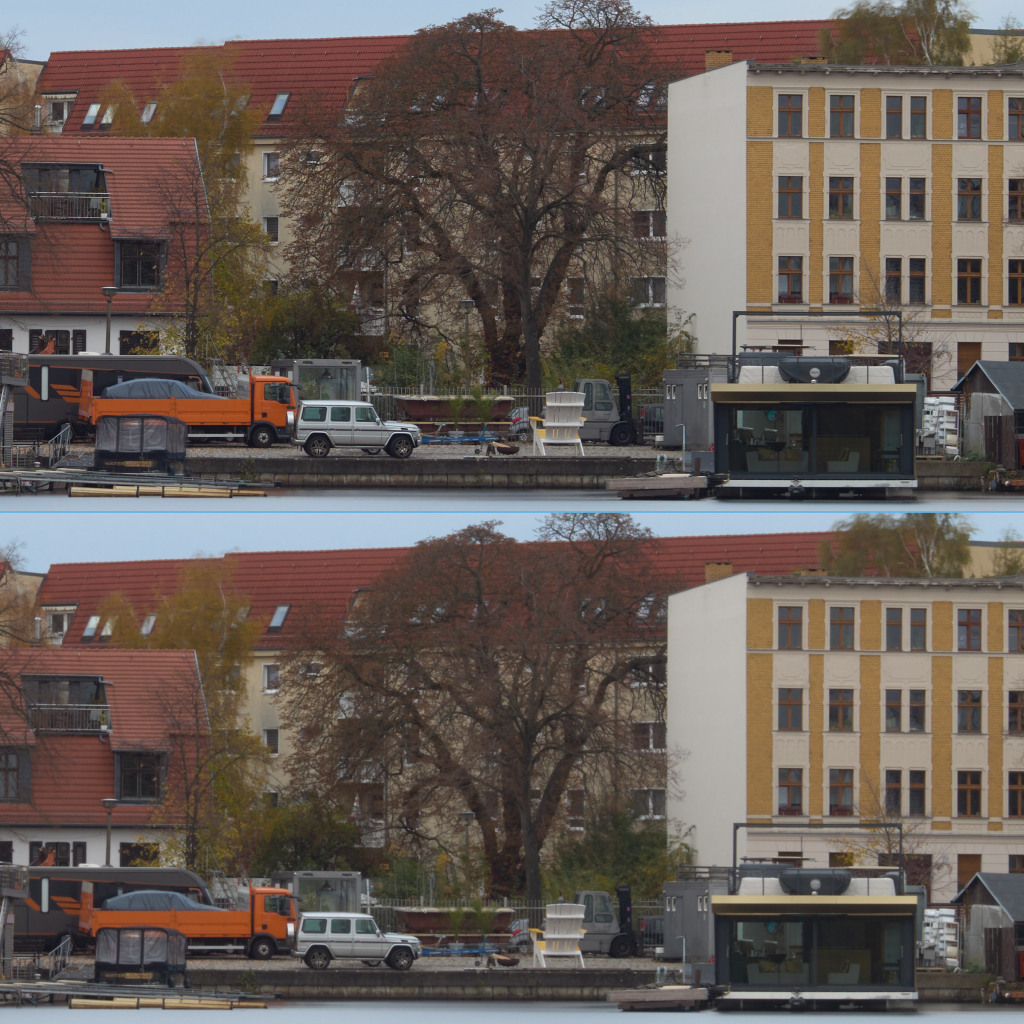
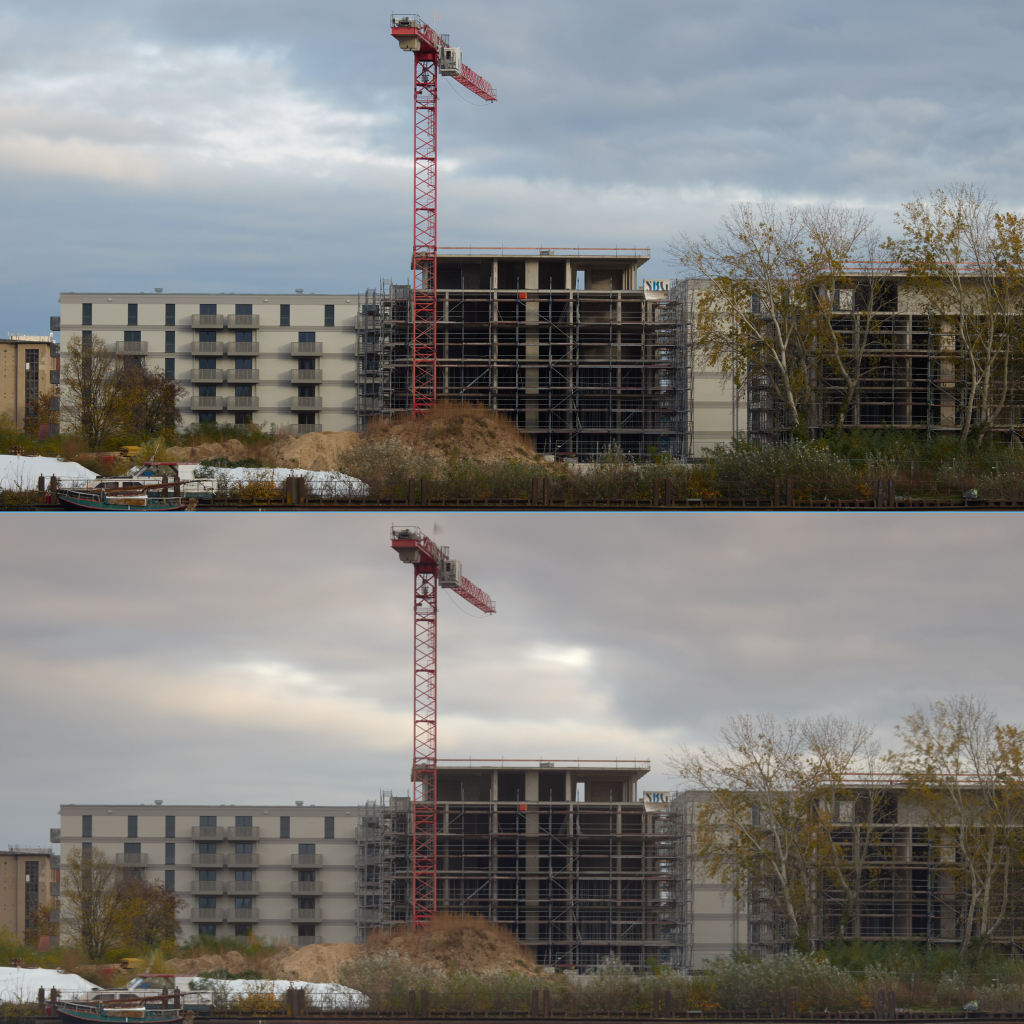
Increasing the aperture value (using a narrower aperture) reduces the amount of light reaching the sensor, allowing for a longer exposure time. However, paradoxically, using too small of an aperture can cause a loss of detail due to diffraction. Explained briefly, diffraction occurs when light waves spread out as they pass through a small opening, causing them to interfere with each other. This interference softens the image and reduces sharpness instead of increasing depth of field. The extent of diffraction is influenced by the physical size of the aperture, and larger format cameras are generally less affected by diffraction than 35mm cameras, allowing them to maintain better image quality at smaller apertures. Alternatives to increasing the f-stop include using a stronger ND filter, lowering the ISO, or waiting for lighting conditions to change.
The examples below illustrate how diffraction affects an image, featuring two original-sized images that can be opened in a new tab for closer examination, along with three close-up examples.


Stacking too many filters is not recommended, as it will degrade image quality. Light passing through multiple layers of glass will increasingly diffuse, resulting in blur and loss of detail. Stacking filters increases the thickness of the setup, which can lead to mechanical issues like vignetting when used on wide angle lenses.
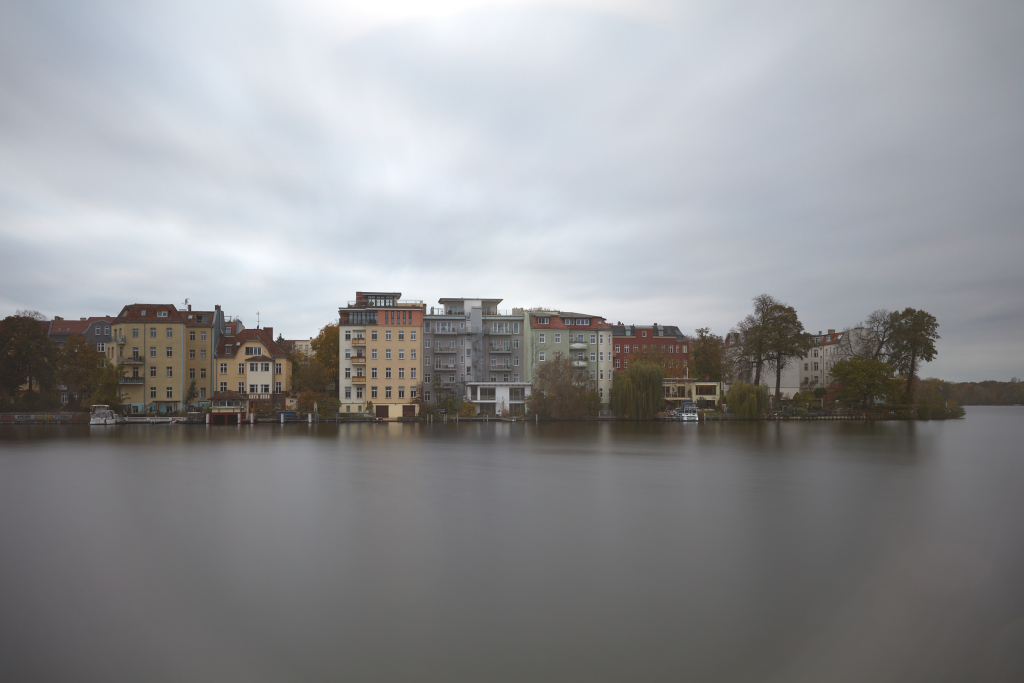
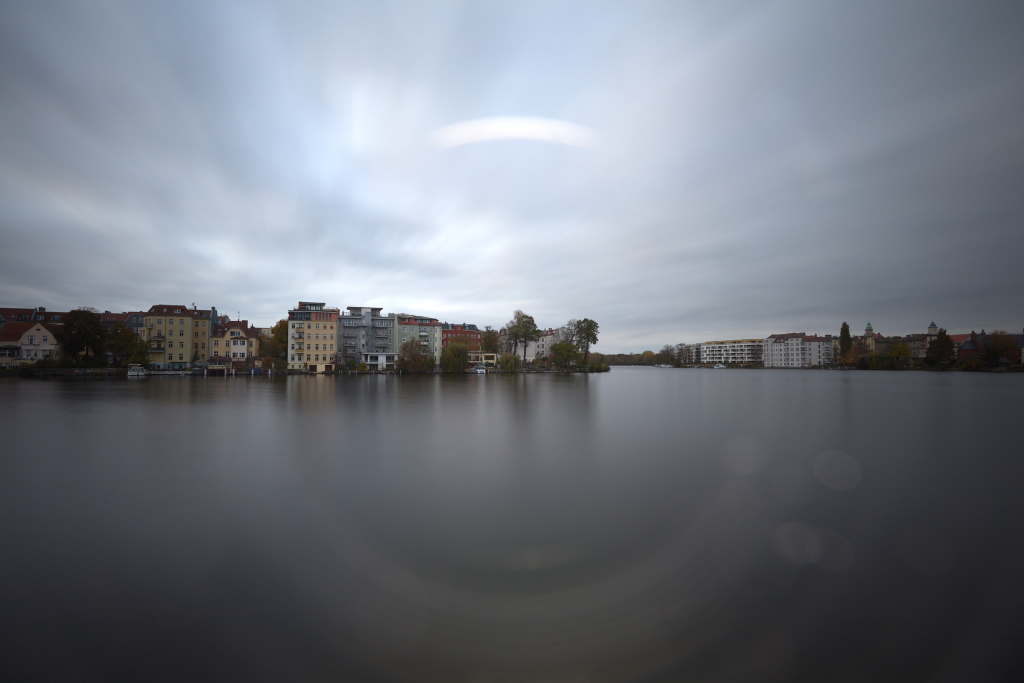
A tight seal is necessary between the filter, filter holder, and lens to prevent light leaks. The appearance of light leaks can vary depending on exposure time and focal length, with wider lenses making leaks more prominent. For classic DSLRs, the viewfinder should also be covered, as any direct light can introduce color casts and contrast distortions across the frame. While this is not typically an issue under normal conditions, it can often occur during long exposures, even if the viewfinder is blocked by the mirror.
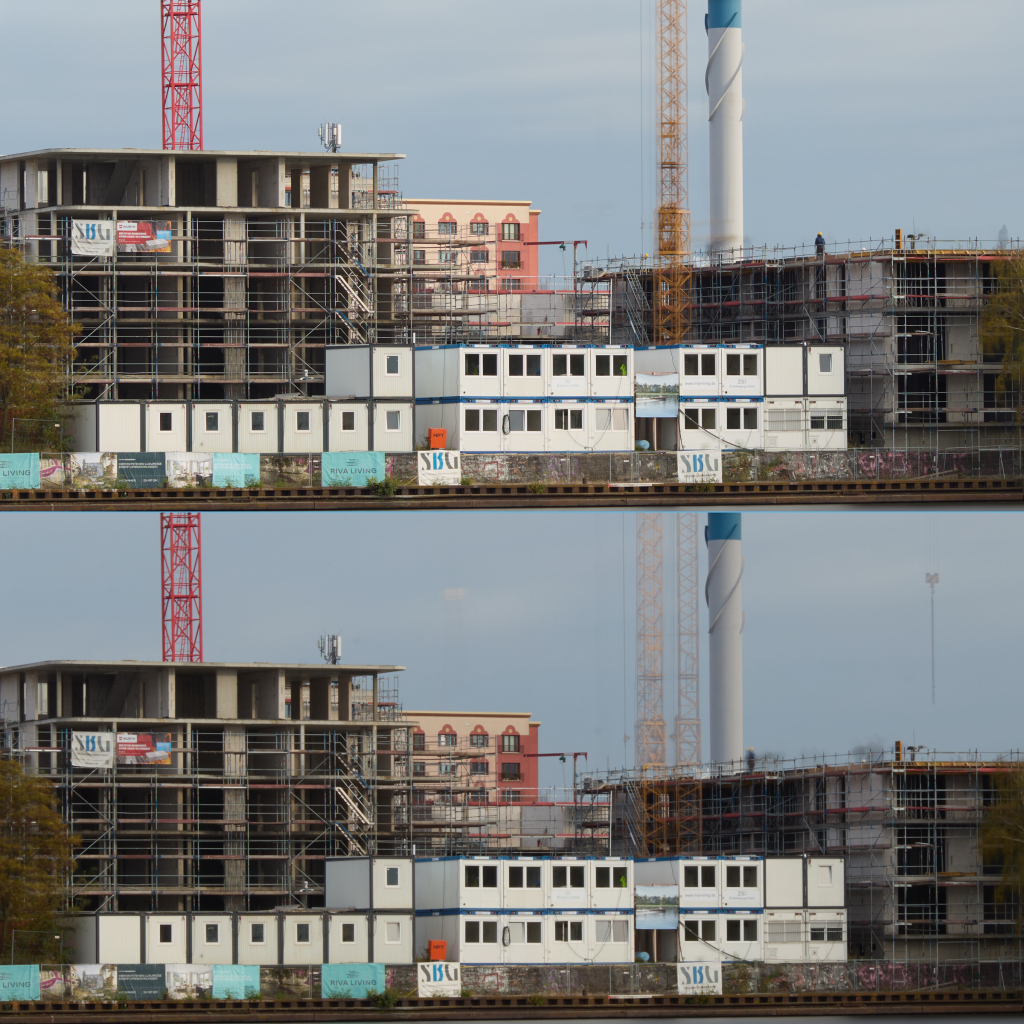
Many lenses and newer cameras come with an integrated image stabilization system, which helps when using longer shutter speeds by reducing camera shake. While image stabilization is useful, it must be disabled when the camera is mounted on a tripod. If left on, the system may still operate in the background even when there is no movement during a long exposure, resulting in slight shifting of the lens elements or camera sensor and leading to unwanted blur, as illustrated in the image below.
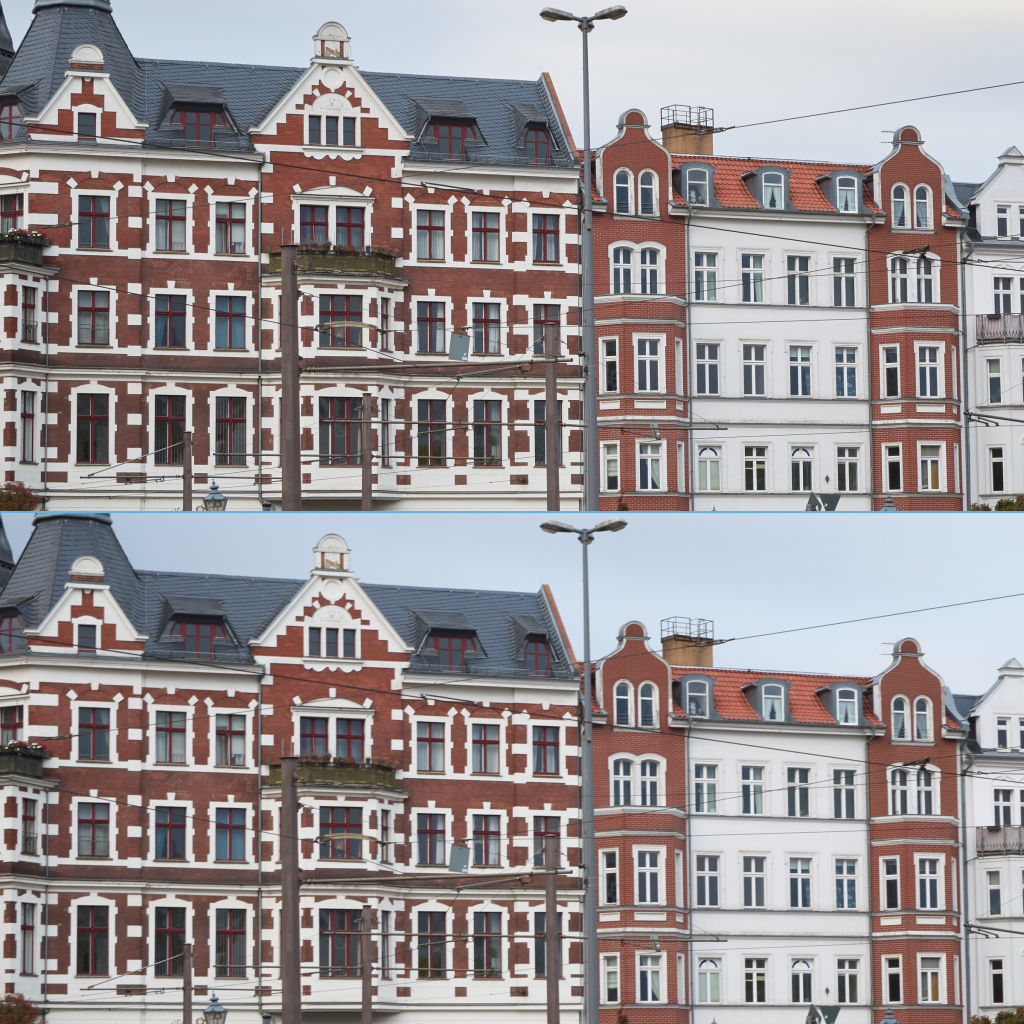
Above – no image stabilization, below – stabilization introduces blur due to slight shifts during exposure
Using a remote shutter release and mirror lock-up are important but not essential for long exposures. For very long exposure times, any initial vibrations caused by the mirror movement, shutter mechanism, or gently pressing the button are generally insignificant. A two-second self-timer should be sufficient to prevent any potential blurriness.
Stability is another crucial factor in long exposure photography. Ensuring that the camera is mounted on a stable tripod or surface is essential. In windy conditions, attaching extra weights to the tripod can help minimize movement and prevent instability. Additionally, removing the camera strap can reduce the risk of wind causing minuscule shifts that lead to image blur.
For unstable terrain, it is best to use tripod spikes to secure the tripod more effectively. To prevent a tripod from sinking and shifting in sand, placing CDs under the tripod legs will distribute the weight more evenly.
Hot pixels occur when the sensor overheats. This is not usually an issue during normal shooting conditions, but when using a high ISO setting or during long exposures, the sensor can overheat, resulting in individual pixels that stand out across the frame. Dead and stuck pixels may also become noticeable during long exposures, especially on the smooth surfaces of the scene. Many cameras offer a Noise Reduction feature that can remove these pixels during capture, but this requires doubling the exposure time, as the camera takes a separate dark frame immediately after the initial exposure to subtract the noise and hot pixels.
Dust on the sensor becomes noticeable when using small apertures and is further highlighted by the uniform textures in long exposure images. This dust is unavoidable, as it often enters the camera during lens changes. Many editing software programs offer automated solutions for dust removal during post-processing, and it can also be addressed through cloning and healing tools in Photoshop.

There may be additional, unforeseen issues that have not yet been covered, which can arise during a long exposure photography session. However, these can usually be resolved through recalculating, readjusting, and retaking the shot. Unlike capturing a decisive moment, long exposure photography revolves around meticulous planning and methodical experimentation to achieve a specific look for the image.
All images in this article are under a CC BY-NC 4.0 license.