Masking is a fundamental technique in photography that allows us to isolate specific areas of an image for targeted adjustments. By creating precise masks, you can selectively enhance, modify, or protect different parts of your images, enabling greater creative control and more refined editing.
Table of contents
Introduction
While the primary subject of this article is masking in Capture One, it is important to note that there are similarities with masking in Adobe Photoshop, although at a simpler level. They both offer excellent masking capabilities and enable layer-based workflows, allowing non-destructive editing. Brushes, erasers and gradients work the same way in both software, the Magic Brush in Capture One has its equivalent of Magic Wand in Photoshop, Luma Range is similar to Blend If, and color range masking can be achieved in both.
Learning masking in Capture One will give you an advantage when transitioning to complex workflows in Photoshop, and in some cases, it may even make localized editing in Photoshop unnecessary. For some tasks though, Photoshop offers clear advantages, by enabling you to use custom brushes and fine-tuning masks with Channels. Mask preview is better implemented in Photoshop, as masks are thumbnails attached to their corresponding layers, while Capture One does not offer mask previews in the layer panel and masks can only be viewed/hidden by pressing M on the keyboard.
By default, Capture One visually represents the masked areas with a red overlay, but this color can be customized. To modify the mask color, access Edit > Preferences and in the Appearance tab change the mask color and opacity. The change will take effect immediately without requiring a restart.
In this comprehensive guide, we will explore all tools and features to create masks in Capture One, understand various settings and analyze multiple techniques to render more precise adjustments for careful retouching.
Draw / Erase Mask
These tools are regular brushes useful for painting and erasing masks over the desired areas.
Having the brush active and holding down Alt (Windows) or Option (Mac) will temporarily switch the brush into an eraser. Right-clicking the image area while having one of these tools active, will activate the Brush/Eraser Settings floating panel that allows modifications to size, hardness, opacity and flow parameters. It also provides options for making the brush behave like an airbrush (simulates a spray-paint effect), use pen pressure for the visibility and width of the brush strokes or auto mask for automatic edge detection.
Activating the Link Brush with Layer option will sync the brush settings with the selected layer, making it easy to switch between layers, each with different brush settings, without needing to readjust the values. Activating the Link Eraser with Brush option applies the same settings to both tools, ensuring consistent behavior.
Low flow or opacity brush strokes provide a subtle visibility of adjustments made with this type of layer mask. The Erase Mask tool is also a quick and efficient way to remove elements previously selected by other tools.
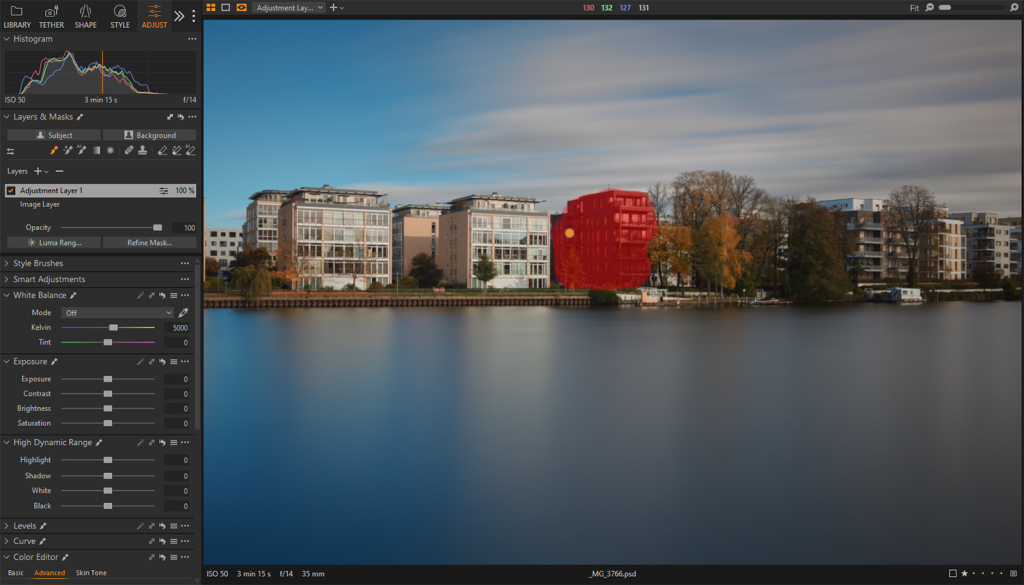
Magic Brush / Eraser
These tools allow you to brush over an area of the image, and the software automatically detects and selects areas with similar colors and tones.
Having the Magic Brush active and holding down Alt (Windows) or Option (Mac) will temporarily switch the Magic Brush into Magic Eraser. Their settings allow for adjustments to size, opacity, tolerance (the range of colors the mask will cover), and edge refinement (lower value will render a hard-edged mask while a higher value provides a softer edge).
Enabling the Sample Entire Photo option expands the masked area to the entire image, while disabling it restricts the mask to the vicinity of the painted area.
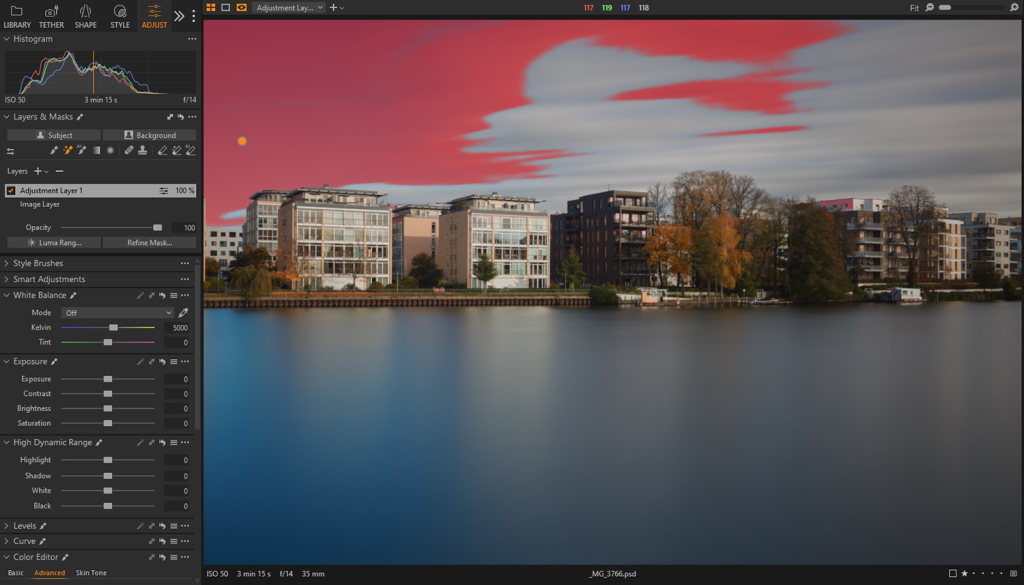
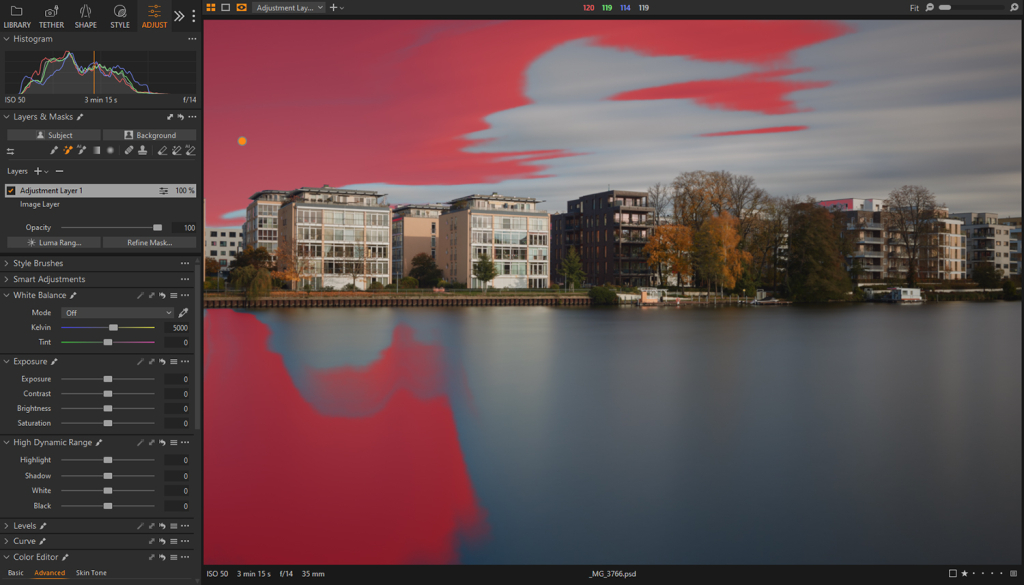
AI Select / Eraser
Allows for precise object selection by highlighting potential areas in red when hovering over an image. Clicking on a desired element within these highlighted areas will create a new layer with the mask for that object. For smaller or complex objects, dragging a rectangle will generate more accurate localized masks.
Holding down Alt (Windows) or Option (Mac) while having the AI Select tool active, will temporarily give you access to AI Eraser in order to quickly subtract elements from your mask.
These tools are recommended for roughly selecting various elements within a photograph. However, they almost always will need further adjustments to better blend the mask with its surroundings.
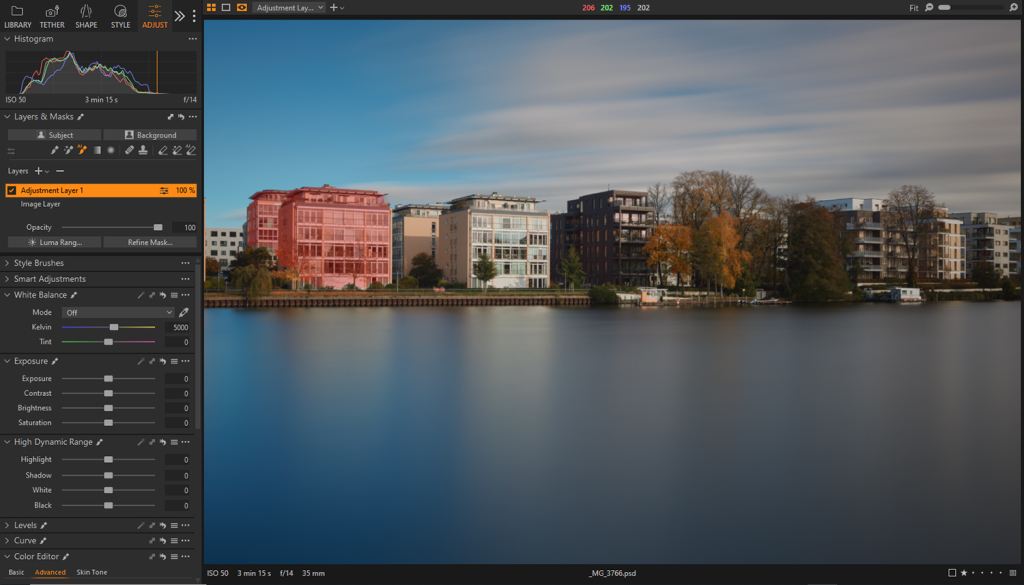
Draw Linear / Radial Gradient Mask
The size, position, shape, and orientation/rotation of this type of masks can be adjusted manually using handles and controls.
Drawing with these tools on empty layers will create the corresponding mask, while drawing over already active layer masks will subtract from those masks. It is not possible to add gradient masks to masks created with brush strokes.
While masks created with these tools can be dynamically adjusted and refined with Luma Range, ensuring a non-destructive workflow, the addition of brush strokes requires rasterization. This process converts the mask into a pixel-based layer, limiting subsequent modifications such as repositioning, resizing, or altering the feathering.
Linear Gradient is a fast way to make seamless adjustments on a large part of the image while Radial Gradient is often the go-to for highlighting an individual element. If you wish to quickly invert a radial gradient mask, drag its outermost circle towards the center and reposition accordingly.
Select Subject / Background
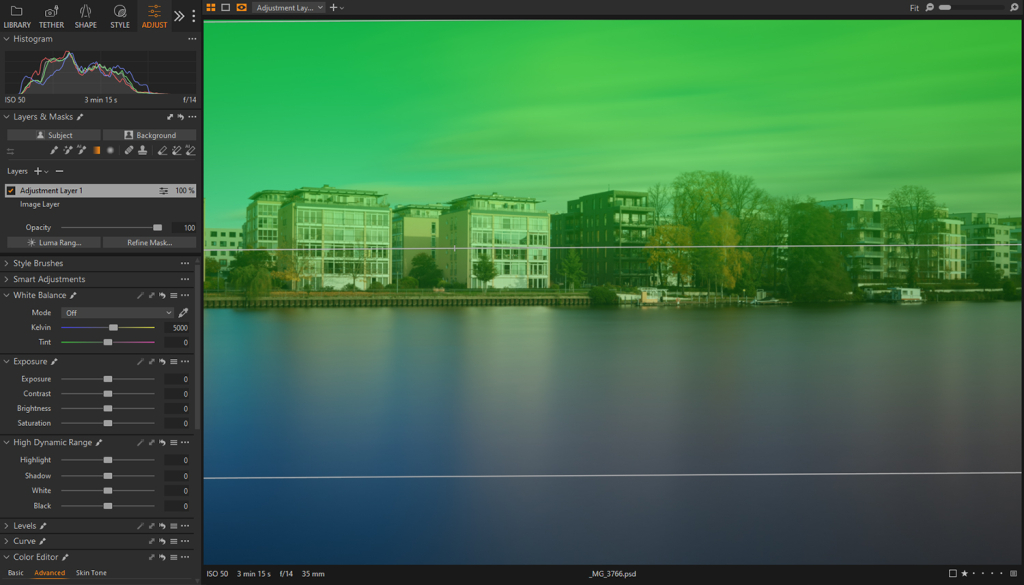
The Select Subject and Select Background buttons in Capture One offer a convenient way to create masks for what the software thinks is the primary subject or background of an image. By clicking one of these buttons, a new layer is automatically generated with a mask that outlines the element. Further adjustments might be needed to fine-tune the mask.
Luma Range
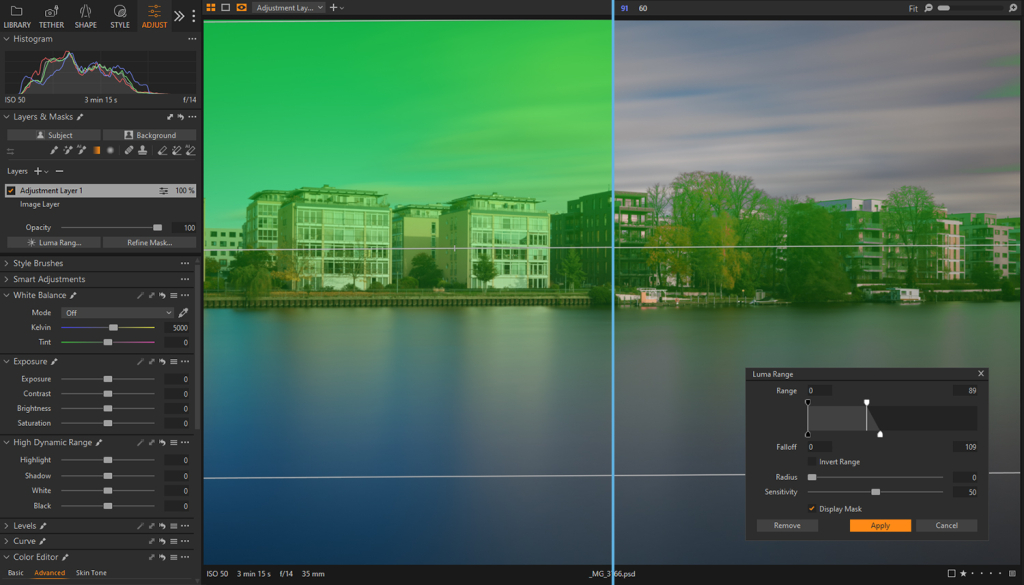
The Luma Range tool is similar to the Blend If feature in Photoshop and is used for selective luminosity adjustments. It offers precise control over the masked areas, allowing you to target specific brightness ranges.
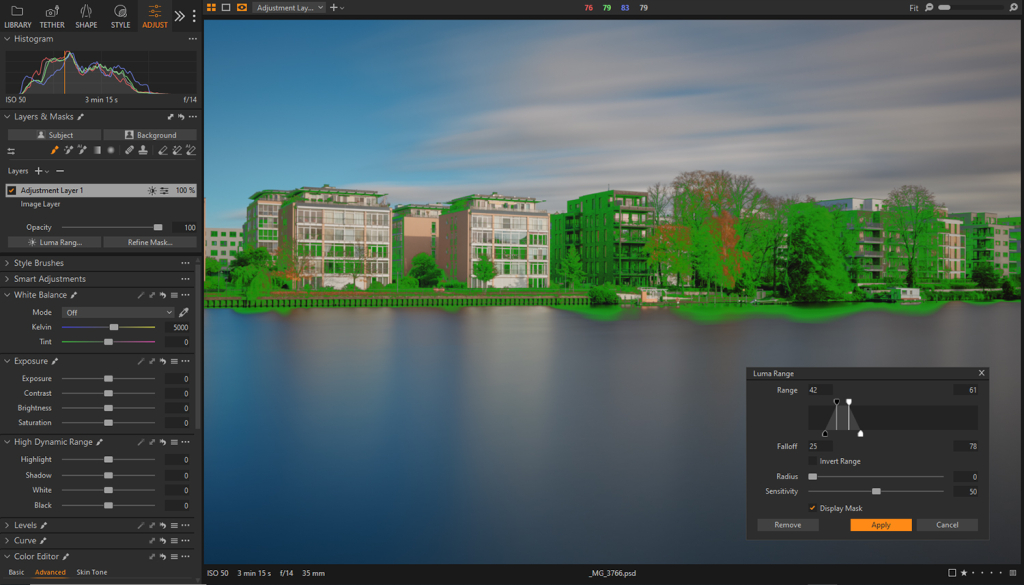
The two points at the top of the slider represent the black and white points, while the two points under the graph are the falloff points. The black and white points control the luminosity range on which the mask is applied, while the falloff points determine the gradual transition between affected and unaffected tones.
The Luma Range panel allows for inverting the range and adjusting the transition using the Radius and Sensitivity sliders. Sensitivity controls the hardness or softness of the mask edges, while Radius influences the strength of the Sensitivity slider.
Luma Range is ideal for pixel-perfect masking, based on luminosity values (similar to Luminosity Masks in Photoshop). But, it can be effectively used in combination with other masking tools in order to achieve a more localized and complex mask. Adjusting values in the Luma Range panel is non-destructive.
Selective Color Range
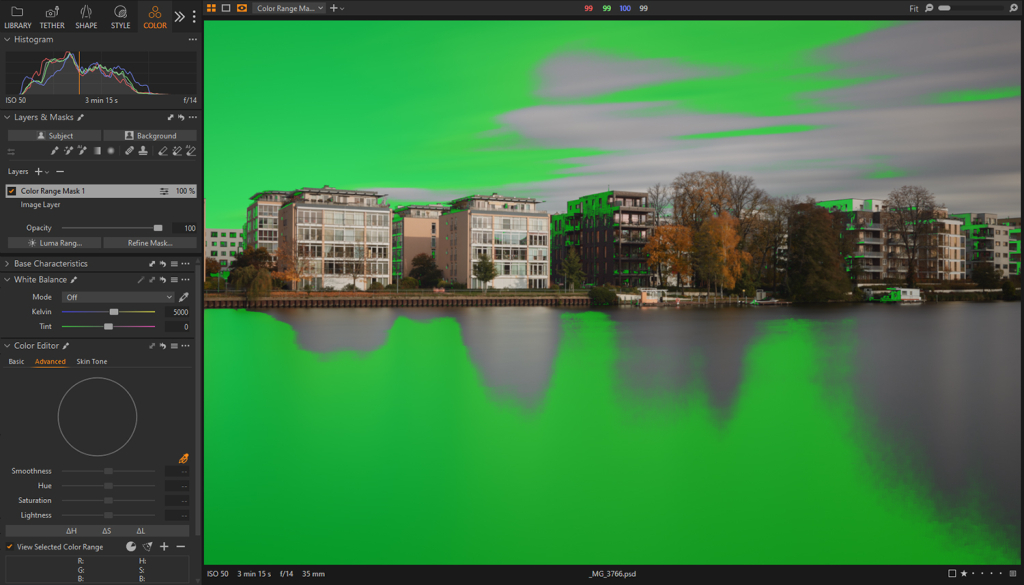
Similar to the Color Range feature in Photoshop, Capture One provides the ability to select a tone or color from the image, adjust its range, and create a corresponding mask on a new layer.
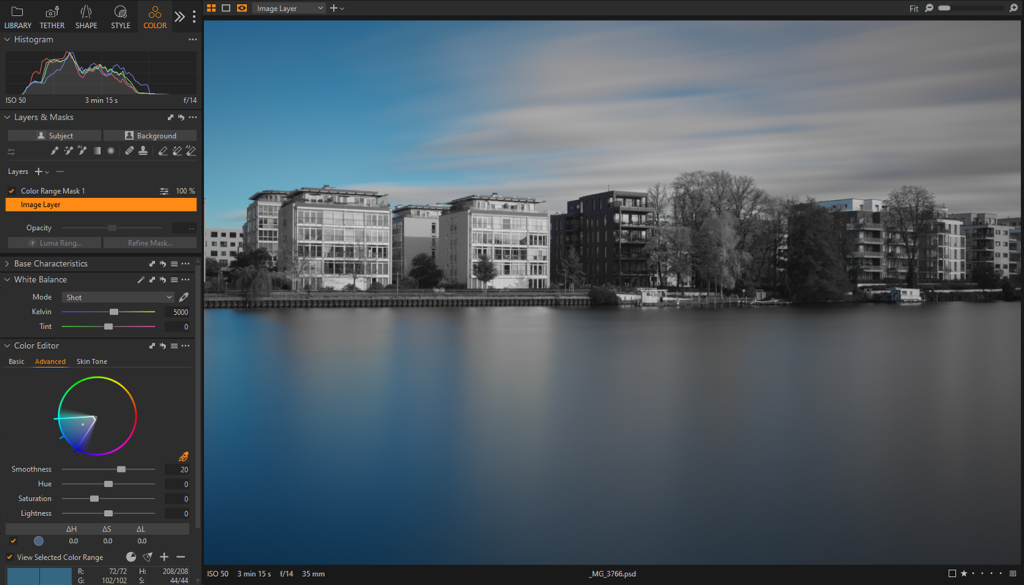
Clicking an area of the image using the Pick Color Correction tool within the Advanced tab in the Color Editor panel will automatically register that specific color. Dragging the semicircle to the outer edge of the color wheel will control how many saturation variations will be included. Adjusting the edges will determine whether related hues are included or excluded. The Smoothness slider controls the transition between the selected color and adjacent tones, allowing for either a sharp or gradual transition.
Next, with the sampled color selected, click on the three dots … in the upper-right corner of the Color Editor panel and choose Create Masked Layer from Selection. This will automatically generate a new Adjustment Layer with that color range as a mask.
Other options
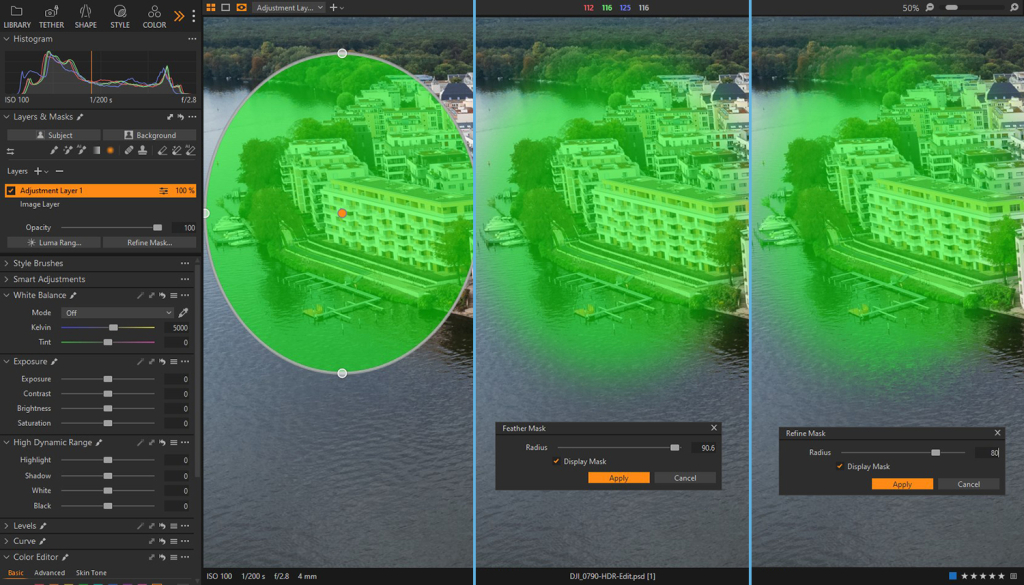
Right-clicking on an adjustment layer will reveal a context menu offering options such as Invert Mask, Fill Mask, Rasterize, Feather Mask, Refine Mask, and accessing or modifying Luma Range parameters. Additionally, the menu provides the functionality to copy a mask from other layers.
Both Feather and Refine Mask use Radius as a parameter to better control the output. Feather Mask controls the gradual transition between the masked and unmasked areas – exclusively in regards to edges, while Refine Mask slightly expands the mask, selectively reducing the opacity of the mask based on contrast values. This creates a smoother transition derived from luminosity values.
Copying a mask from another layer can significantly expedite the workflow, particularly when dealing with complex masking tasks. For instance, if a perfectly masked sky exists on a separate layer, inverting that mask on another layer can facilitate the masking of other elements within the image, minimizing the risk of creating halos or inadvertently affecting the sky.