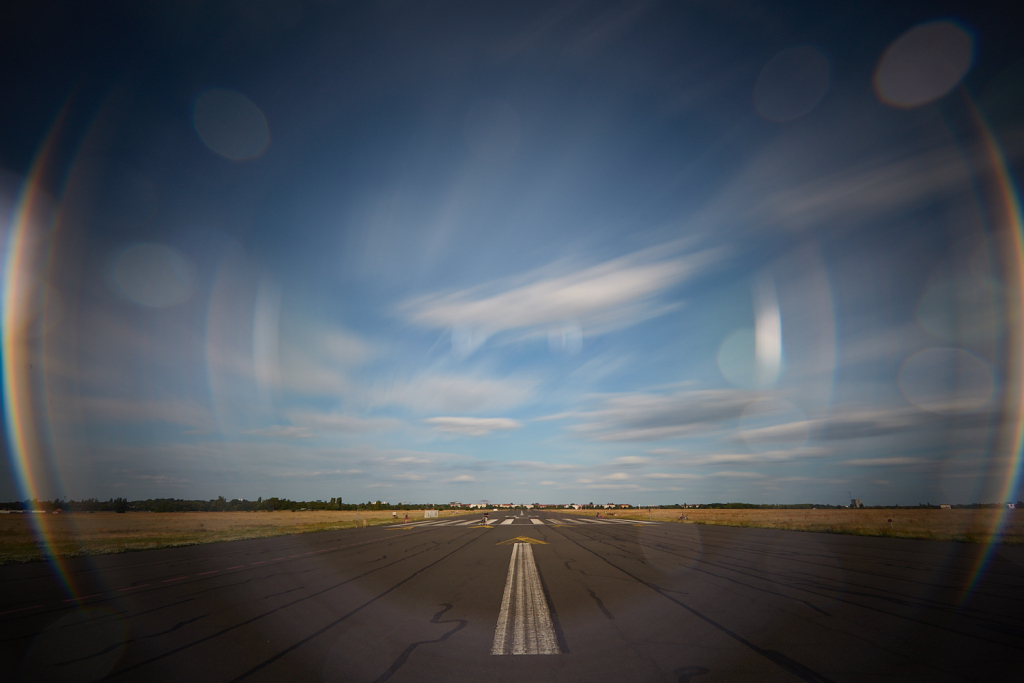
The definition of long exposure photography is self-explanatory: the photographer chooses a long shutter speed to create a distinction between stationary and a selection of moving subjects.
At night, it is more of a practical choice, as less light reaches the sensor, the shutter speed needs to be increased to allow it to read out a comprehensive image of a scene, while during the day, it is more of a stylistic choice, enabling the photographer to emphasize the subject, render the motion of some objects, or develop a specific look for the image.
Table of contents
Daytime
Long exposure photographs taken during the day are more difficult to take than nighttime images. This short introduction will concentrate on methods and techniques to achieve very long shutter speeds during daytime.
A very specific approach is required, which requires the following tools:
- camera that allows the manual control of the shutter speed
- tripod
- neutral density filter
- graduated neutral density filter (optional)
- camera remote (optional)
A camera with manual shutter speed control (preferably Bulb mode) is essential, as controlling the shutter speed significantly impacts the final image. A tripod is required for stability. A neutral density filter, which is an optical grade tinted glass that evenly reduces light intensity, is the most important. For black and white images, the neutral density filter can be substituted with a piece of welding glass. A graduated neutral density filter is useful when the sky is much brighter than the foreground. A camera remote allows setting the desired shutter speed without touching the camera, reducing vibration and ensuring sharpness. If the camera has a delayed shutter release feature that allows to set any shutter speed, a remote may not be necessary.
Focusing for daytime long exposure images occurs in stages. First, the scene is composed and focused without the neutral density filter. Once the focus is set, the focus mode is switched to manual to lock it in place. Then, the neutral density filter is attached. This method prevents the camera from attempting to focus through the dark filter, ensuring a sharp image.
Closing the aperture to its lowest value to increase the shutter speed might sound tempting, but this introduces diffraction, which negatively affects image sharpness and creates small, distracting halos on edges and fine details. Each lens has a different diffraction boundary, so it is recommended to use an aperture between f/8 and f/11 to avoid this issue.
When mounting the filter, ensure there are no gaps between it and the lens filter thread to avoid light leaks and ghosting. If a classic SLR body is used, it is best to cover the viewfinder during the exposure. Covering the viewfinder isn’t necessary if you are using a mirrorless camera.
The slight advantage of black and white
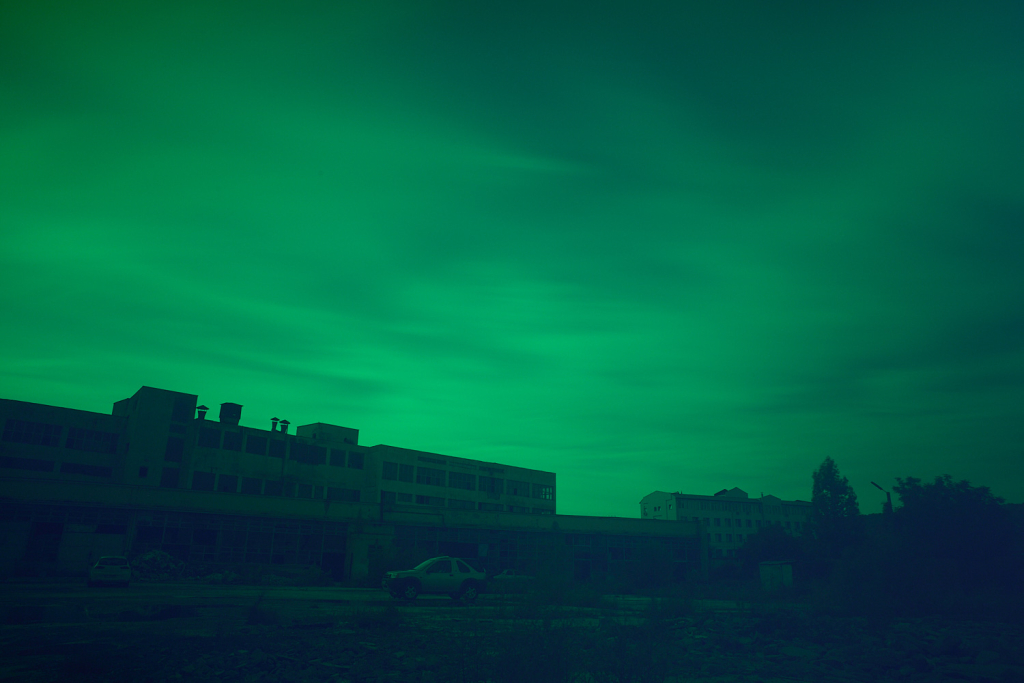
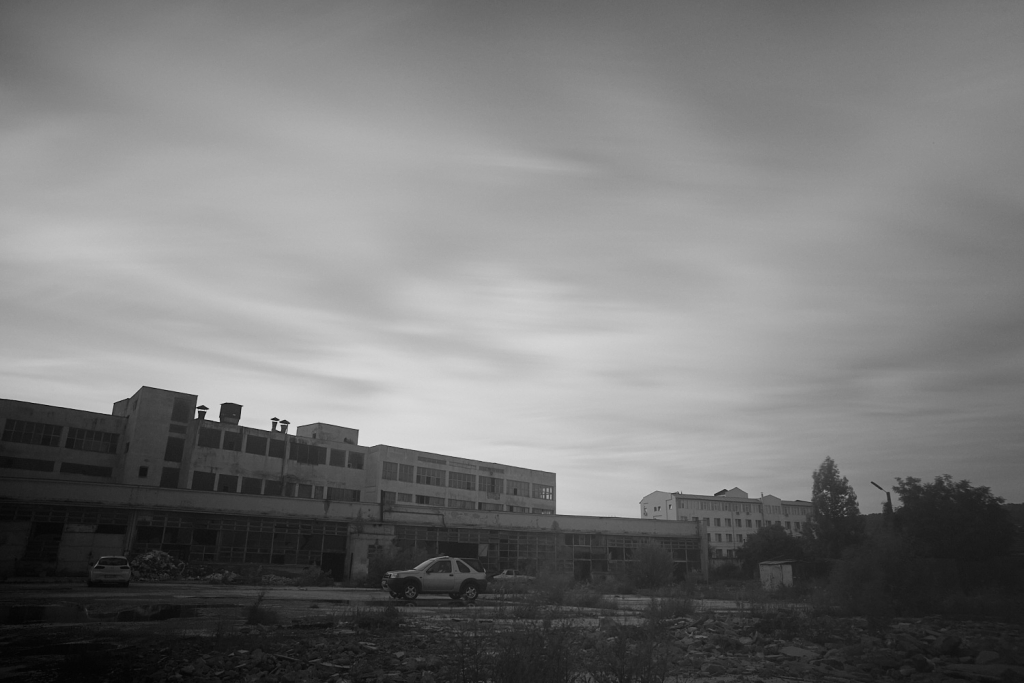
As mentioned above, if the desired result is black and white and your budget is tight for an expensive neutral density filter, a piece of welding glass is a viable alternative. It is significantly cheaper, but it has the disadvantage of creating a strong color cast that is very difficult, if not impossible, to correct. Additionally, calculating the required shutter speed can be challenging, as welding glass has a large variance of shade numbers and is not calibrated for camera sensors. The best approach is to experiment with the shutter speed: overexpose if the image turns out too dark and underexpose if it is too bright. The post-processing workflow involves converting the file to a monochromatic image and adjusting the corresponding color channels.
Some calculations are required
There are numerous online tools and apps that enable the calculation of the desired exposure time. Typically the shutter speed read from the camera is input and based on the density of the filter a resulting time is calculated. Alternatively, equivalence tables are also available for this.
| normal shutter speed | ND5 filter | ND10 filter | ND15 filter |
| 1/2000s | 1/60s | 1/2s | 16s |
| 1/1000s | 1/30s | 1s | 33s |
| 1/500s | 1/15s | 2s | 1m 6s |
| 1/250s | 1/8s | 4s | 2m 11s |
| 1/125s | 1/4s | 8s | 4m 22s |
| 1/60s | 1/2s | 17s | 9m 6s |
| 1/30s | 1s | 34s | 18m 12s |
| 1/15s | 2s | 1m 8s | 36m 25s |
| 1/8s | 4s | 2m 8s | 1h 8m 16s |
| 1/4s | 8s | 4m 16s | 2h 16m 32s |
| 1/2s | 16s | 8m 32s | 4h 33m 4s |
| 1s | 32s | 17m 4s | 9h 6m 8s |
| 2s | 1m 4s | 34m 8s | 18h 12m 16s |
To simplify things, three main categories will be used as examples: the light one – 5 stop ND filter (ND32, it has a light reduction factor of 32, suitable for blue hour and golden hour images), the strong one – 10 stop ND filter (ND1024, it has a light reduction factor of 1000, suitable for overcast and cloudy conditions) and the super strong one – 15 stop ND filter (ND32000, it has a light reduction factor of 32000, suitable for very long exposures during bright days). All filters include a margin of error when it comes to their light reduction which can be as high as 2/3 stops, so before using them it is best to take some sample images and experiment.
Final shutter speed = Base shutter speed x 2n (where n is the stop value of the filter)
Doing calculations in the field, based on this formula isn’t always practical, so having a chart or app available is very helpful.
For each change to the lighting conditions or exposure parameters (e.g., adding a graduated neutral density filter or polarizer, changing the aperture or ISO), the input exposure time should be readjusted and the final shutter speed needs to be recalculated.
Working with color
The most important thing when working with daytime long exposure is color accuracy. Cheaper filters tend to create color casts, color shifts, and affect the overall image sharpness. More expensive filters have a superior build quality, and render more accurate colors. Here are some filter manufacturers I would recommend: Lee, Tiffen, Formatt Hitech.
Even with the highest quality filters it isn’t advised to stack ND filters to increase the shutter speed as it will negatively impact the image quality and make aberrations more likely. In such cases using a stronger ND filter, lowering the ISO value or waiting for lighting conditions to change is recommended.
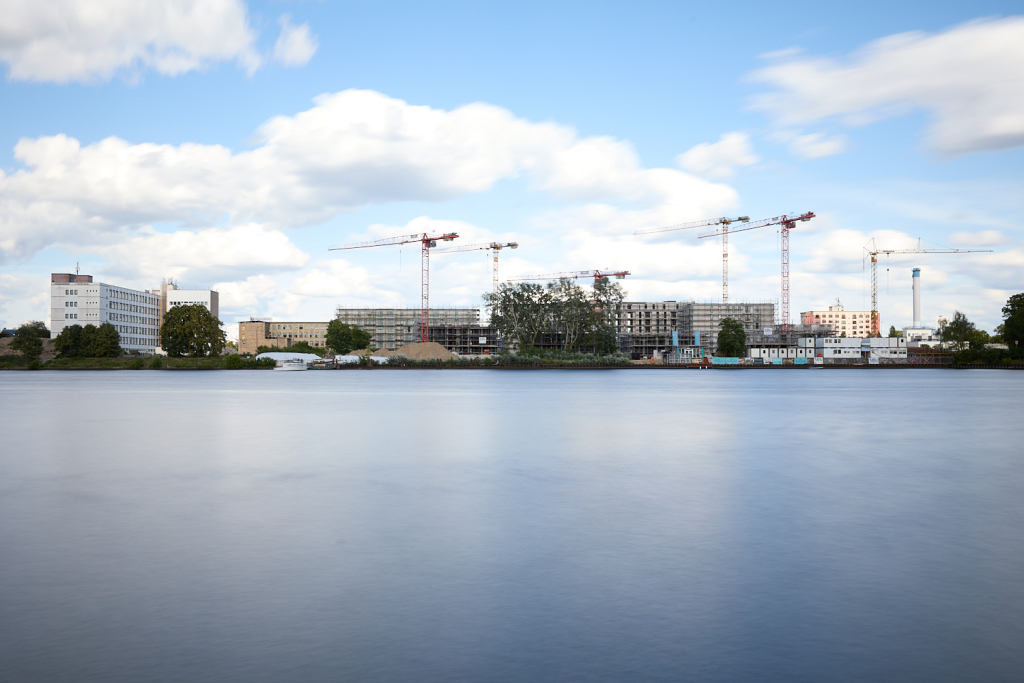
Below is an example of a daytime scene by a river where the use of long exposure photography is illustrated. The first image presents a construction site with static clouds and a textured river surface.
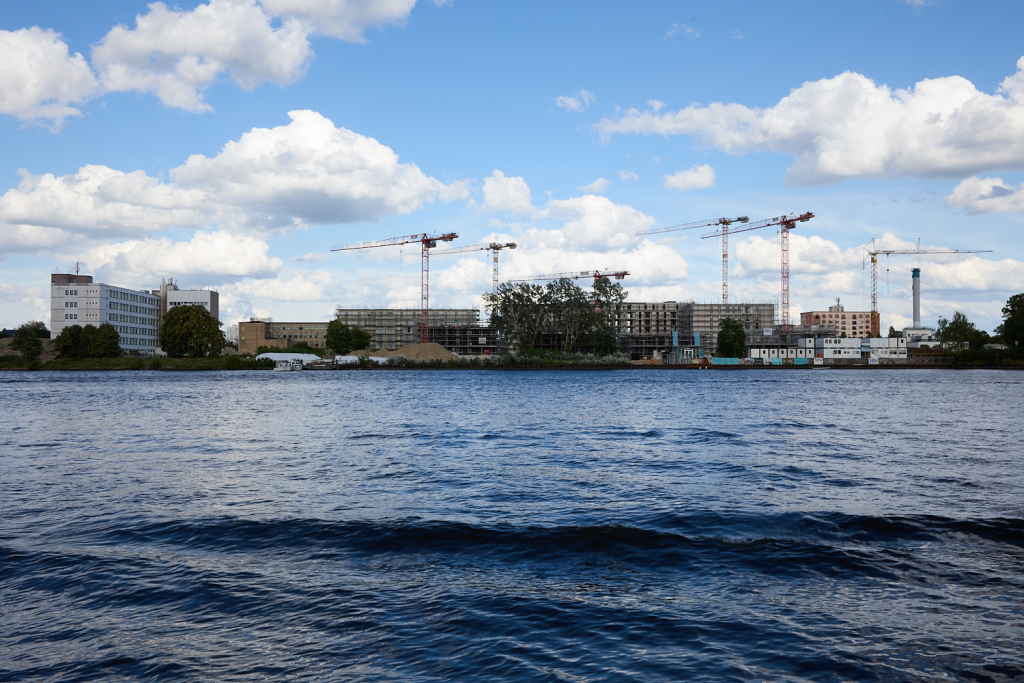
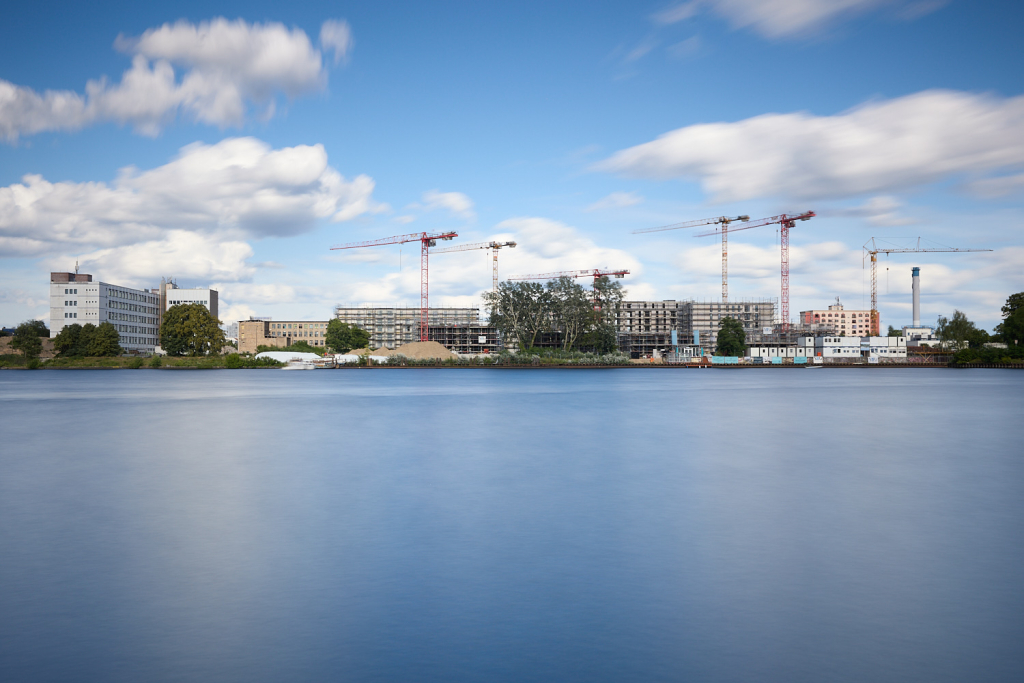
For the second image, a neutral density filter was used to emphasize the movement of the clouds and flatten the water surface. Due to the brightness of the sky, the clouds are overexposed and that creates an imbalanced picture.
By using a graduated neutral density filter (also called a GND filter) in addition to the ND filter for the third image, the sky is correctly exposed.
With long exposure photography experimentation is key. The variables of different ND filters, lighting conditions, subject positions all contribute to the overall look of the image and having a trial and error approach helps in developing a better understanding of the field.
All images in this article are under a CC BY-NC 4.0 license.
For a more comprehensive look into this topic, check out our article about common issues in long exposure photography, including tips on avoiding blurry images and managing exposure.
You can find examples of long exposure photography projects in these galleries: Spreeufer, Tempus Fugit and part of the Flow page.