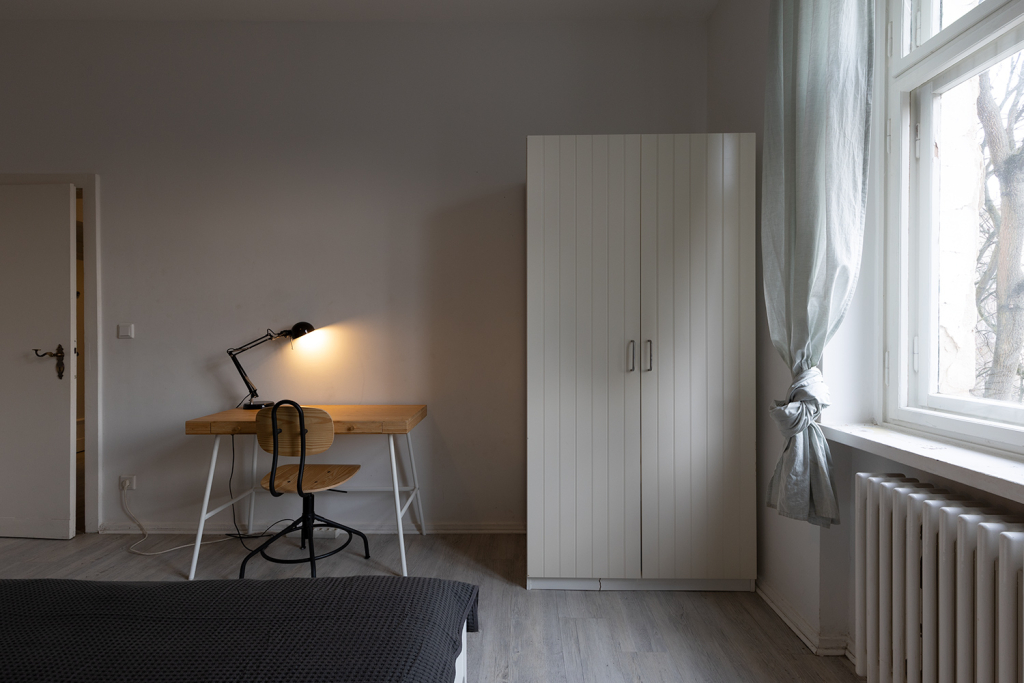
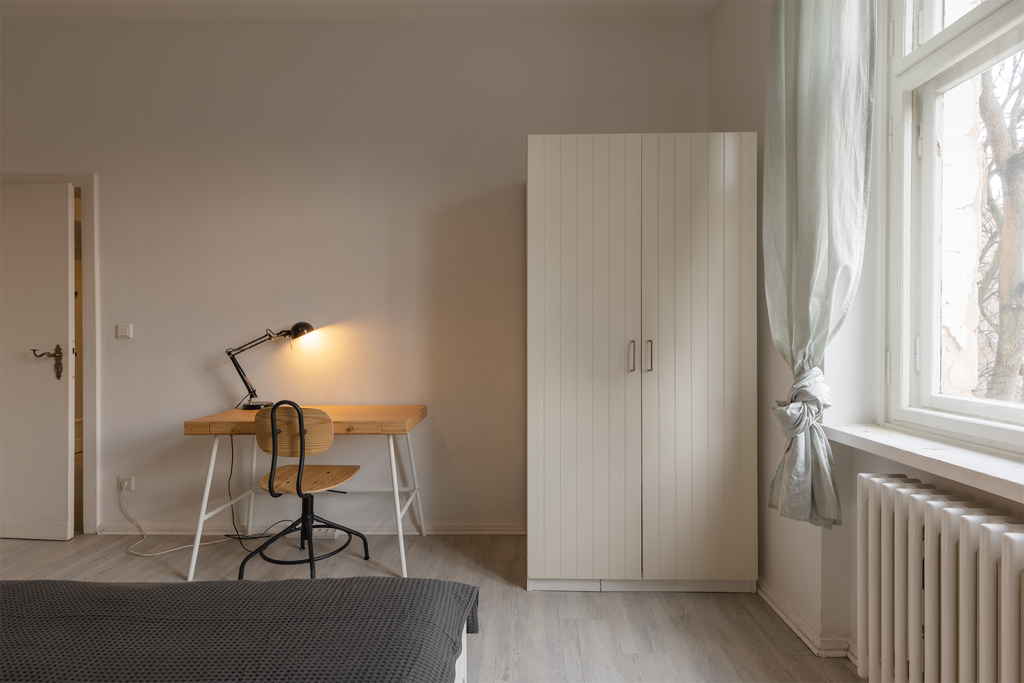
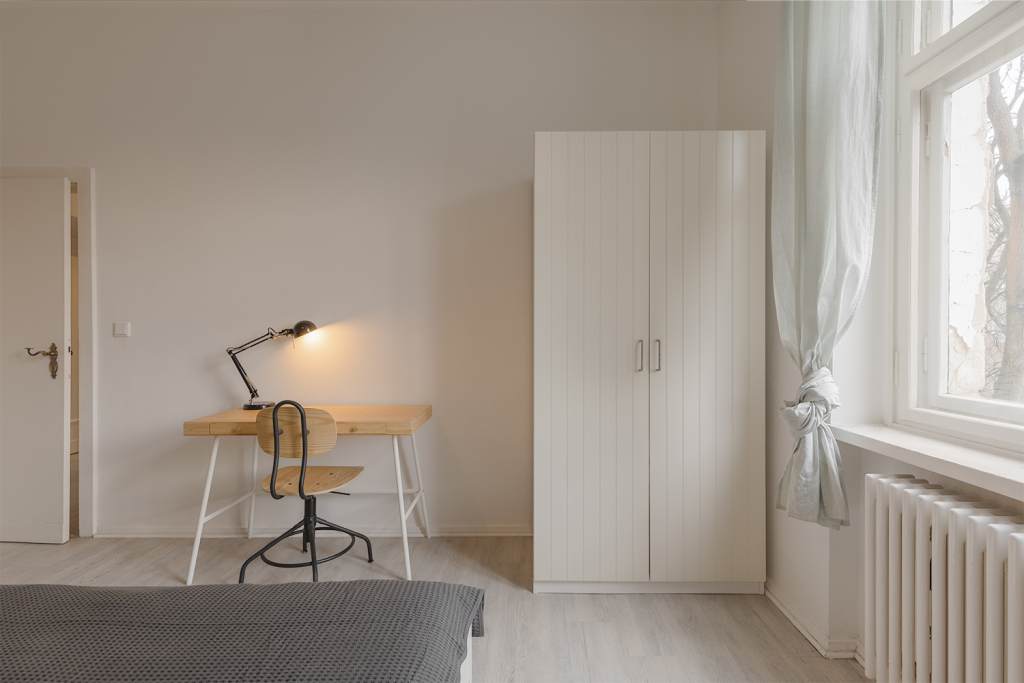
Our photo editing process prioritizes a non-destructive collaborative workflow, allowing for easy adaptations based on feedback without compromising image quality. This short article presents an overview of our approach and while the process may vary depending on project requirements, we never skip essential steps.
Table of contents

Capture One
We work exclusively with raw files, taking photos at different exposure values, for stacking, compositing or panorama stitching.
The post-processing workflow starts by importing an image batch in Capture One (using sessions or catalogs based on project scope) and exporting preview frames for consultation and selection.
After the approval and selection of images, if we’re planning on using images for compositing, we’ll make adjustments on the base photo, while setting the accurate white balance, sharpening, lens correction and level of desired details in the highlights and shadows for the under- and overexposed images.
For a single image (or base photo for compositing), after removing chromatic aberrations, fringing and diffraction, and adjusting sharpness, we focus on recovering details in the highlights and shadows. We then adjust the overall brightness of the image and adjust the contrast and saturation of the background Image Layer.
A separate layer is used for white balance control, as it allows precise adjustments and masking in difficult light situations. We’ll further remove color cast by desaturating the corresponding color on a separate and carefully masked layer, and then proceed to add more masked layers for localized adjustments using automated mask functions, brushed or gradient masks in combination with luminosity masks (more information on luminosity masks can be found in our article). Using these tools is very fast, accurate and benefits from the advantages of a non-destructive workflow.
We can send the adjusted images for another review, optionally highlighting changes using annotations. After feedback and corrections, we’ll continue adjusting the images in Photoshop. Capture One offers an easy way to export and manage the files, by using the Edit in > Photoshop option, the .psd file will be automatically saved and added to the project’s library. This way, reviewing and comparing the adjustments done in each software is easy.

Photoshop
While Capture One offers the control over almost any aspect of an image and its graphic engine is very capable, Photoshop excels at object removal, localized color corrections and complex masking (including double masking and clipped layers).
If we have multiple photos for compositing, we export each frame, add them to the .psd file of the base image and use the auto-align function before starting to mask desired areas for compositing.
Object removal, background extension and image cleanup are handled on separate layers. We use a Curves layer with a wavy structure (preview example of a result) to make sure any change is accurate and consistent.
We then apply localized color correction, such as on areas previously affected by color cast. In the best case scenario, this step is optional. We proceed to create sharp black-and-white masks: for exterior images we prepare masks for the sky, foreground, entire subject and sometimes individual elements; for interior photos, we create masks for windows, all similarly coloured walls, the floor and any object that may be of interest. These masks need to contain strictly black and white, as they are used for precise element selection.
Next, we generate a set of luminosity masks. These masks allow us to apply targeted adjustments to enhance contrast and lighting. By utilizing our previously created masks, clipped to the generated luminosity masks, and carefully feathering and blending them, we can localize these enhancements with even more precision, ensuring natural-looking results.

Once we have a final image, we Stamp Visible (Ctrl+Alt+Shift+E on Windows, Cmd+Opt+Shift+E on Mac), convert it to a Smart Object and add perspective correction. We leave this as a final step, to easily transfer the parameters to another version in case of alterations.
If the project exceeds 2GB and needs to be saved as a .psb file, we save a copy of it as a flattened version, because Capture One doesn’t read .psb files. This step is only required if the final export of the images is done from Capture One.